By default, both General Users (e.g., investigators and/or study team members) and Site Admins (e.g., IRB/HRPP administrators/staff) whose institution has joined SMART IRB Reliance Agreement Version 3.0 can create and submit new reliance requests in the Reliance System. New reliance requests can involve only those institutions that have joined SMART IRB Reliance Agreement V3.0.
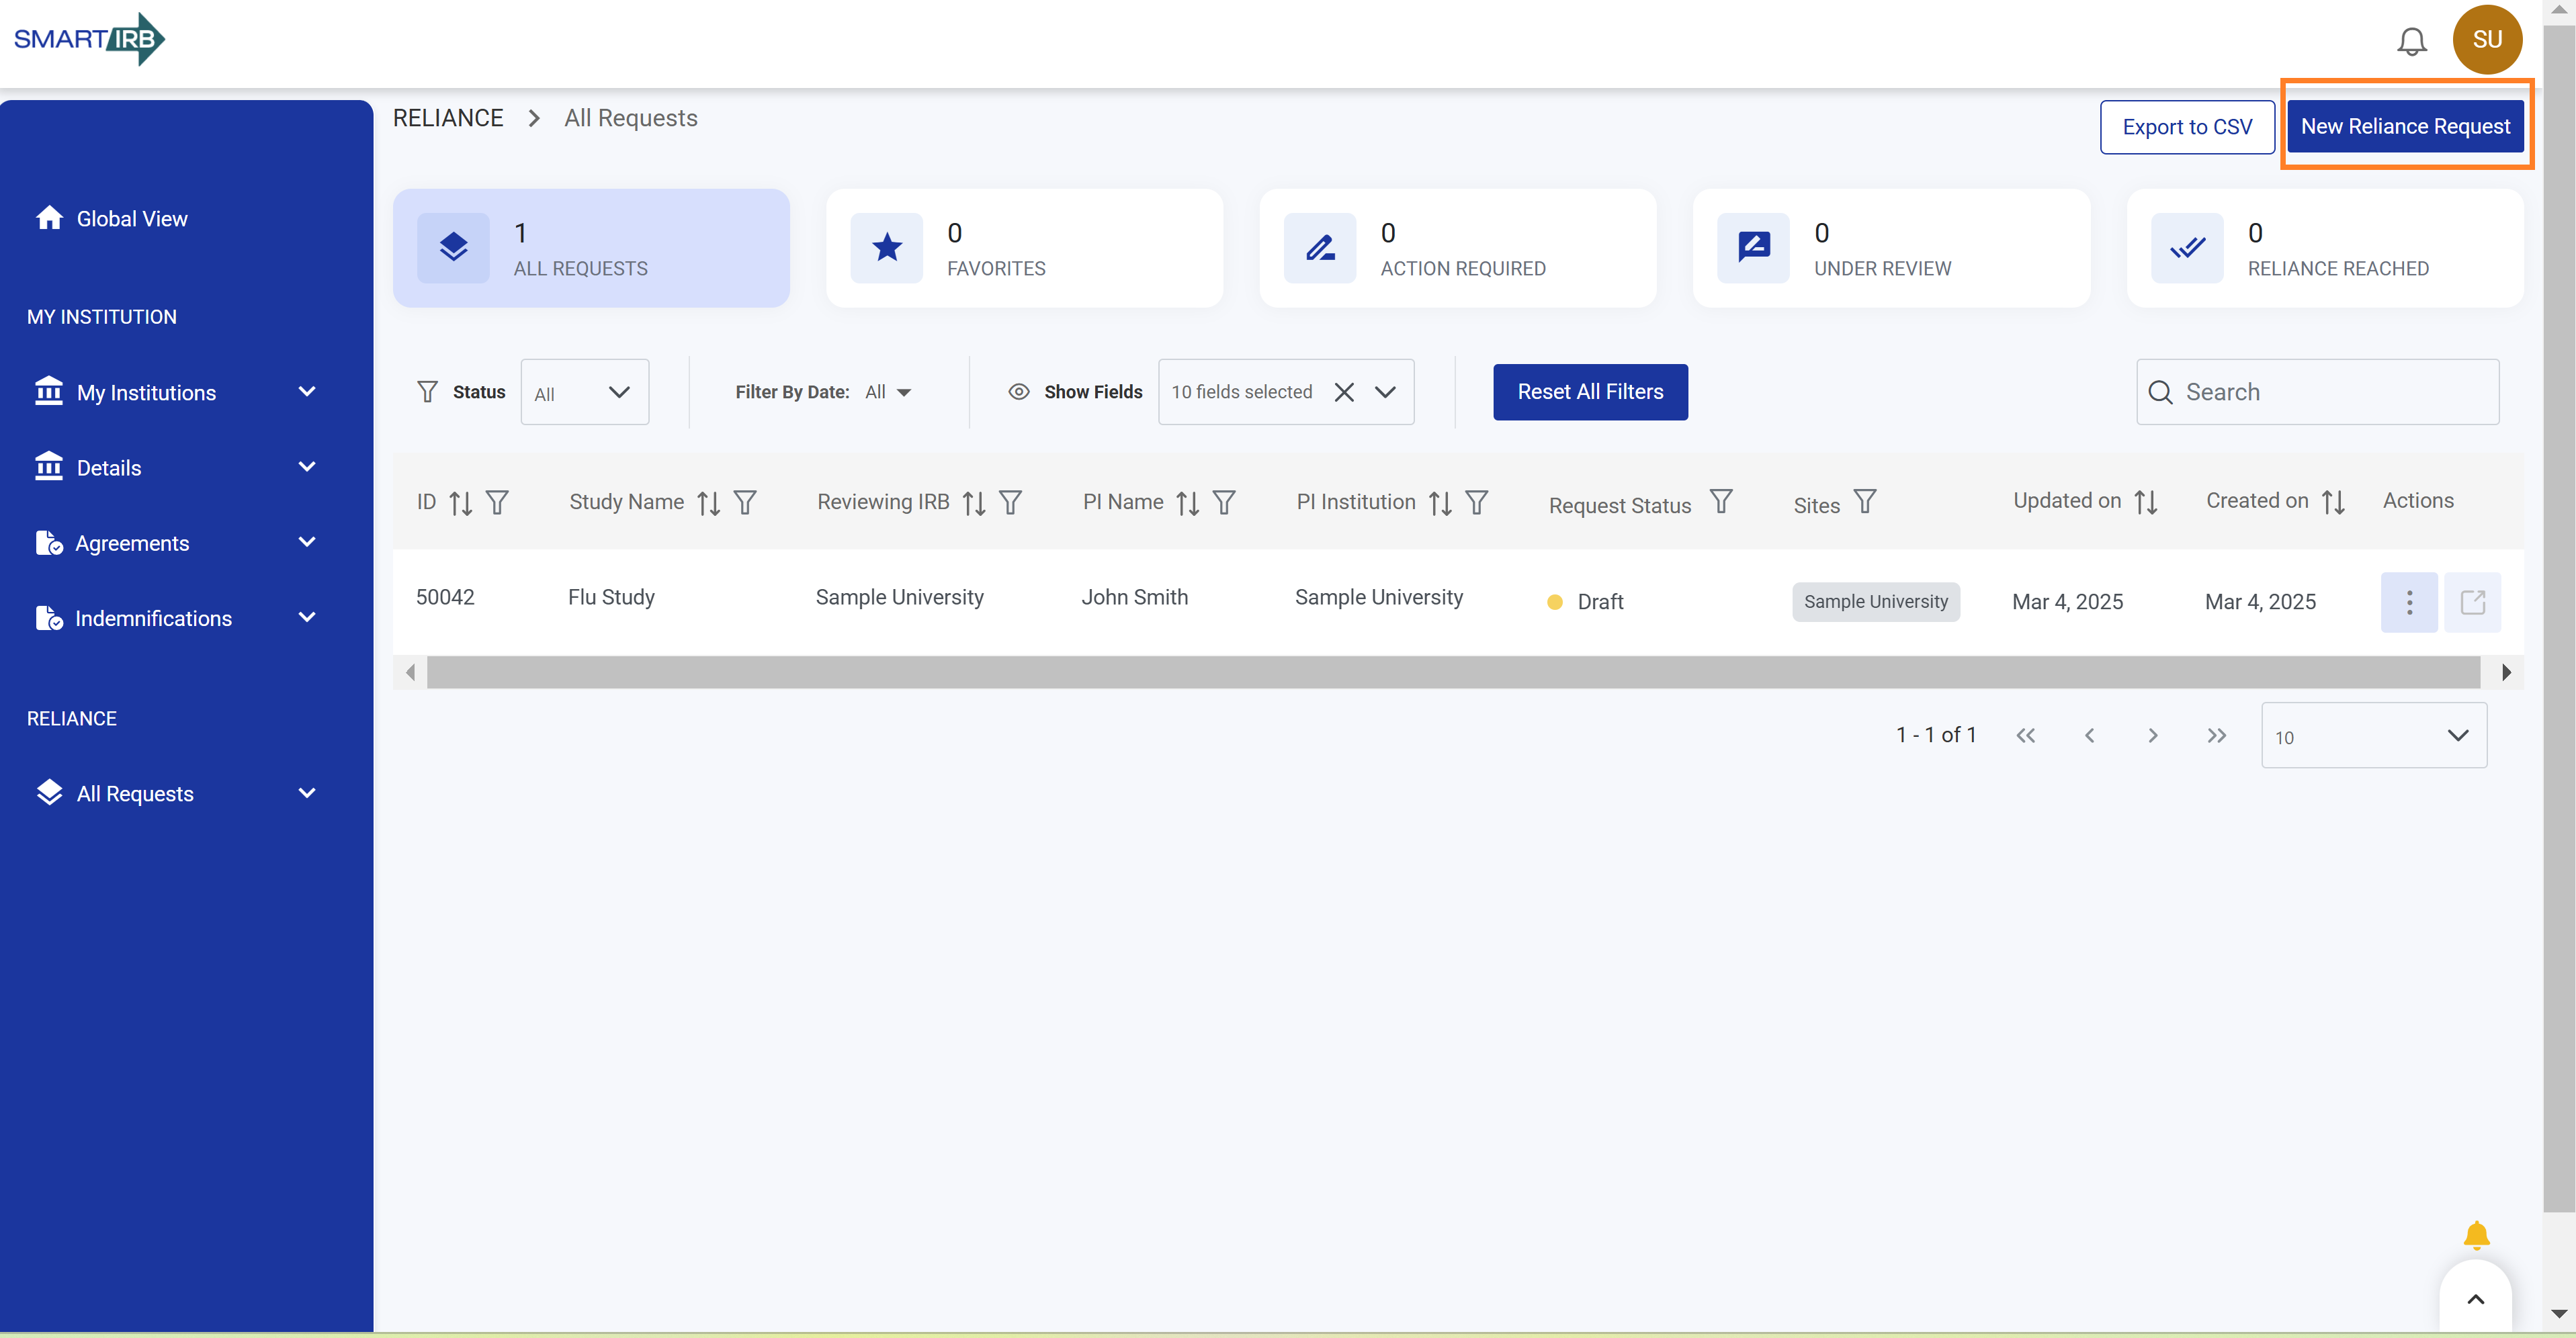
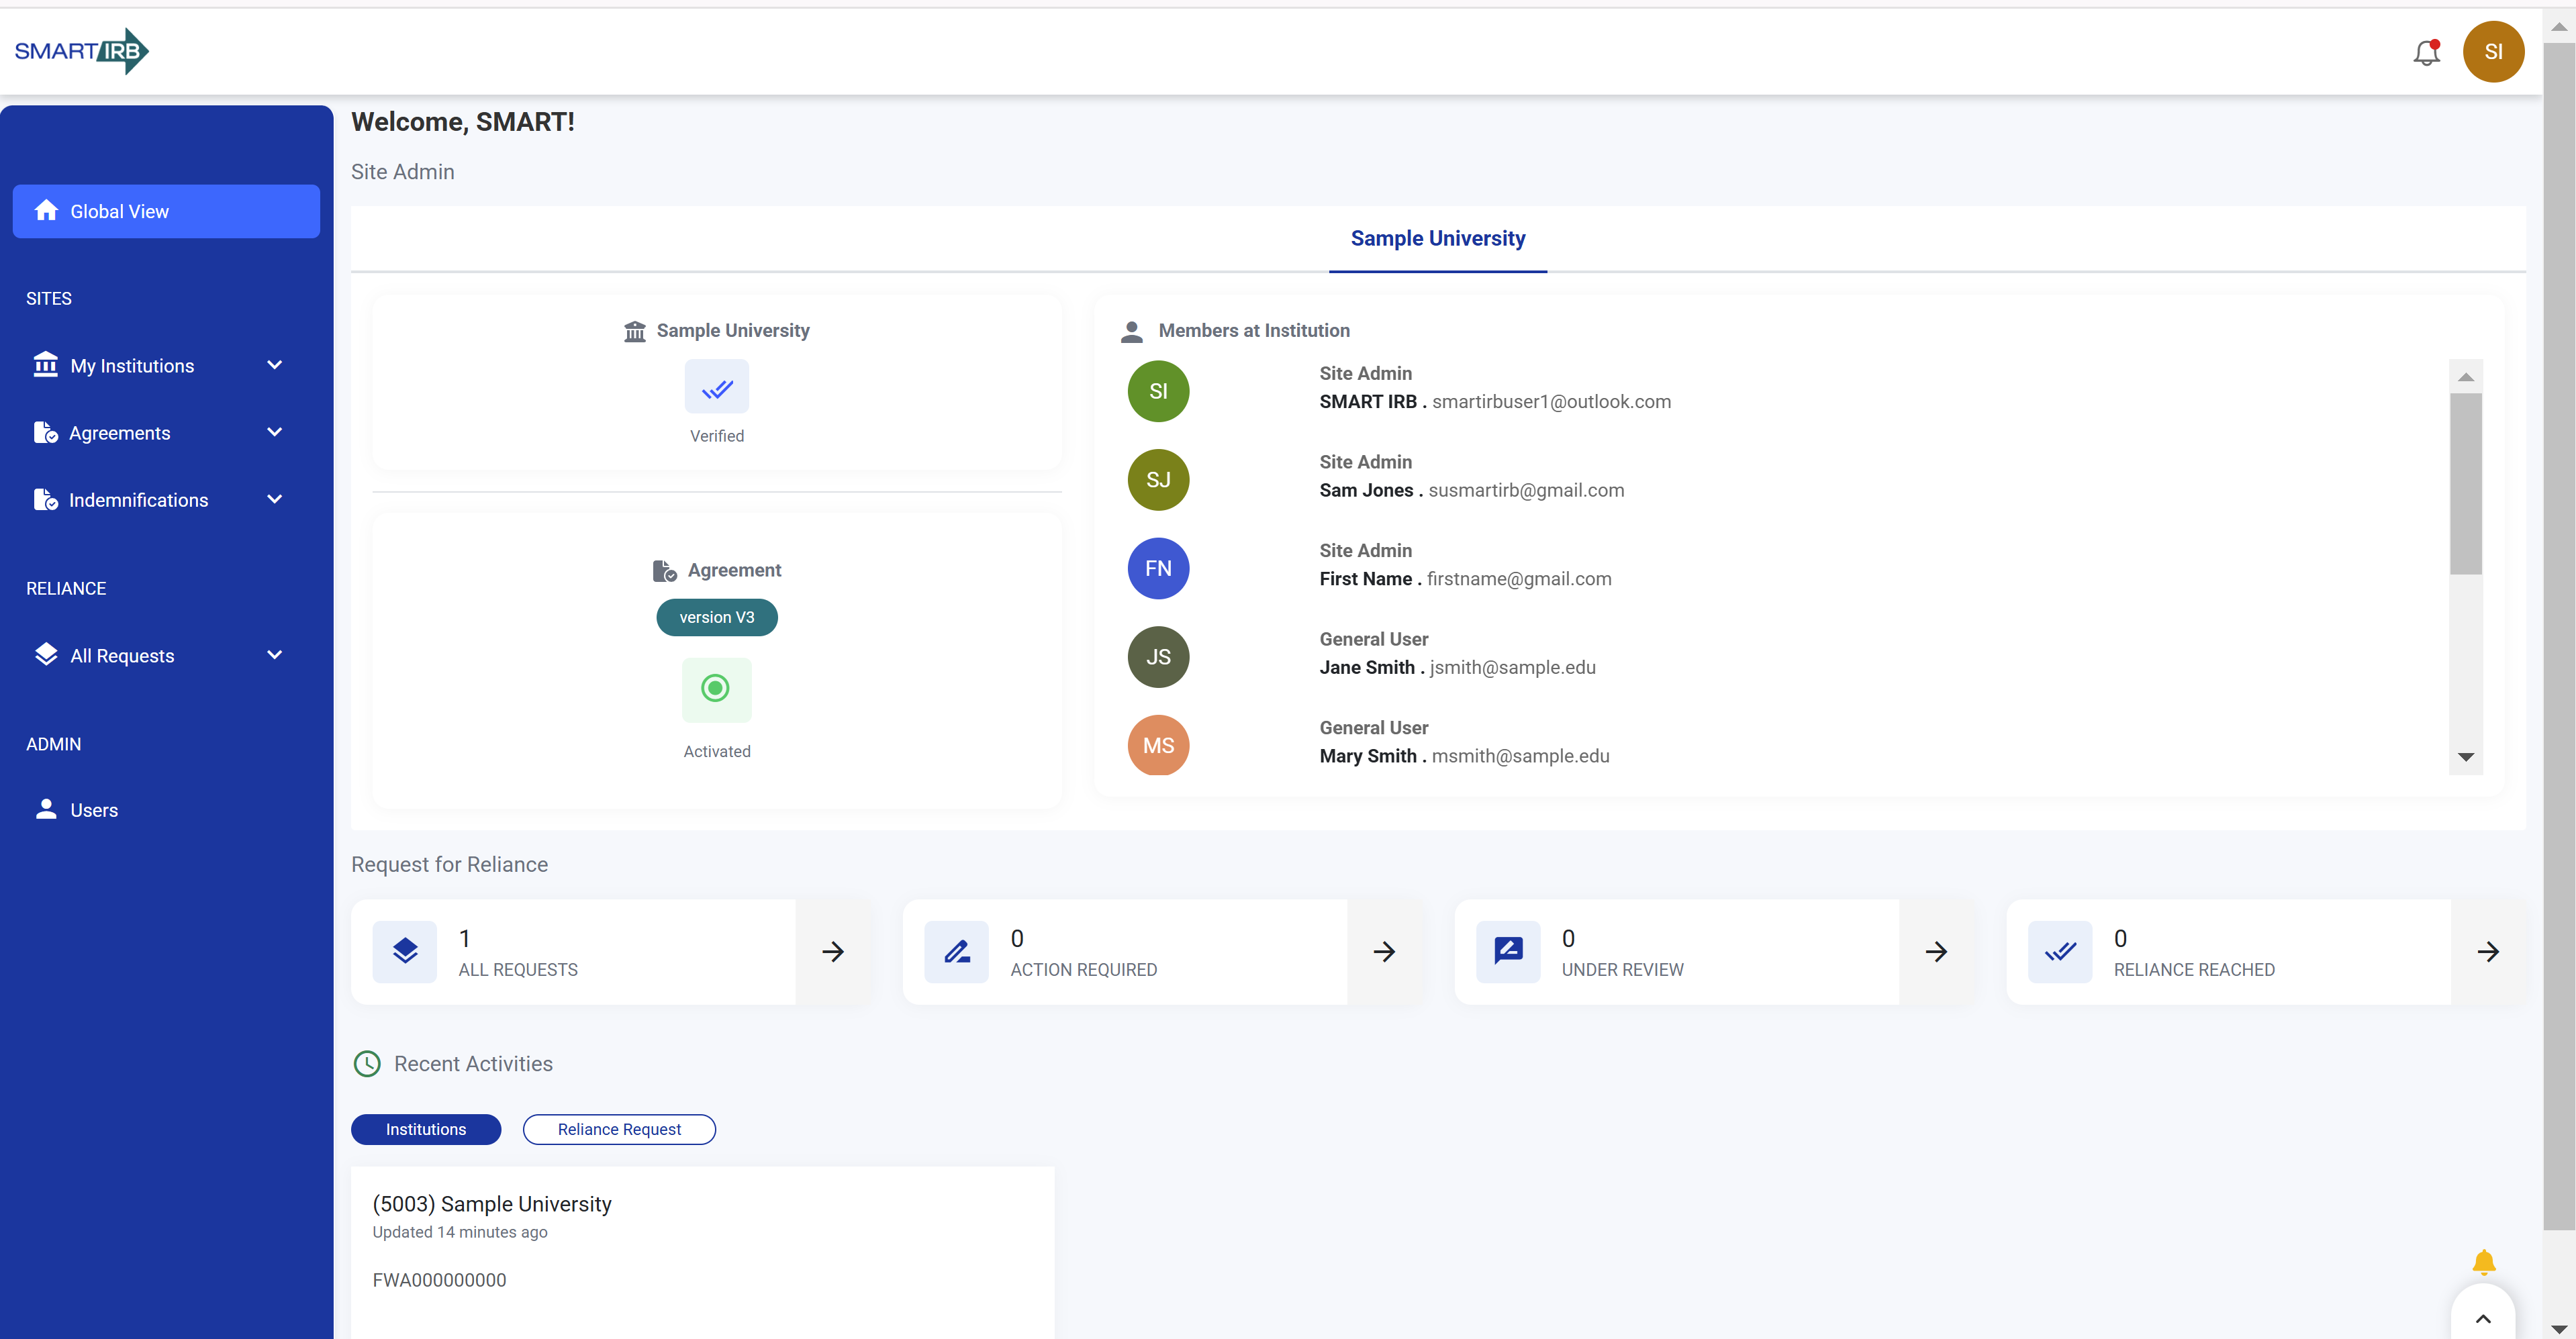
2. Click “All Requests” on the left-hand navigation to open the requests dashboard.
Note: Alternatively, a user can access the reliance dashboard from their global view landing page by selecting any of the cards under “Request for Reliance”
3. From the reliance dashboard, select “New Reliance Request” in the top right-hand corner.
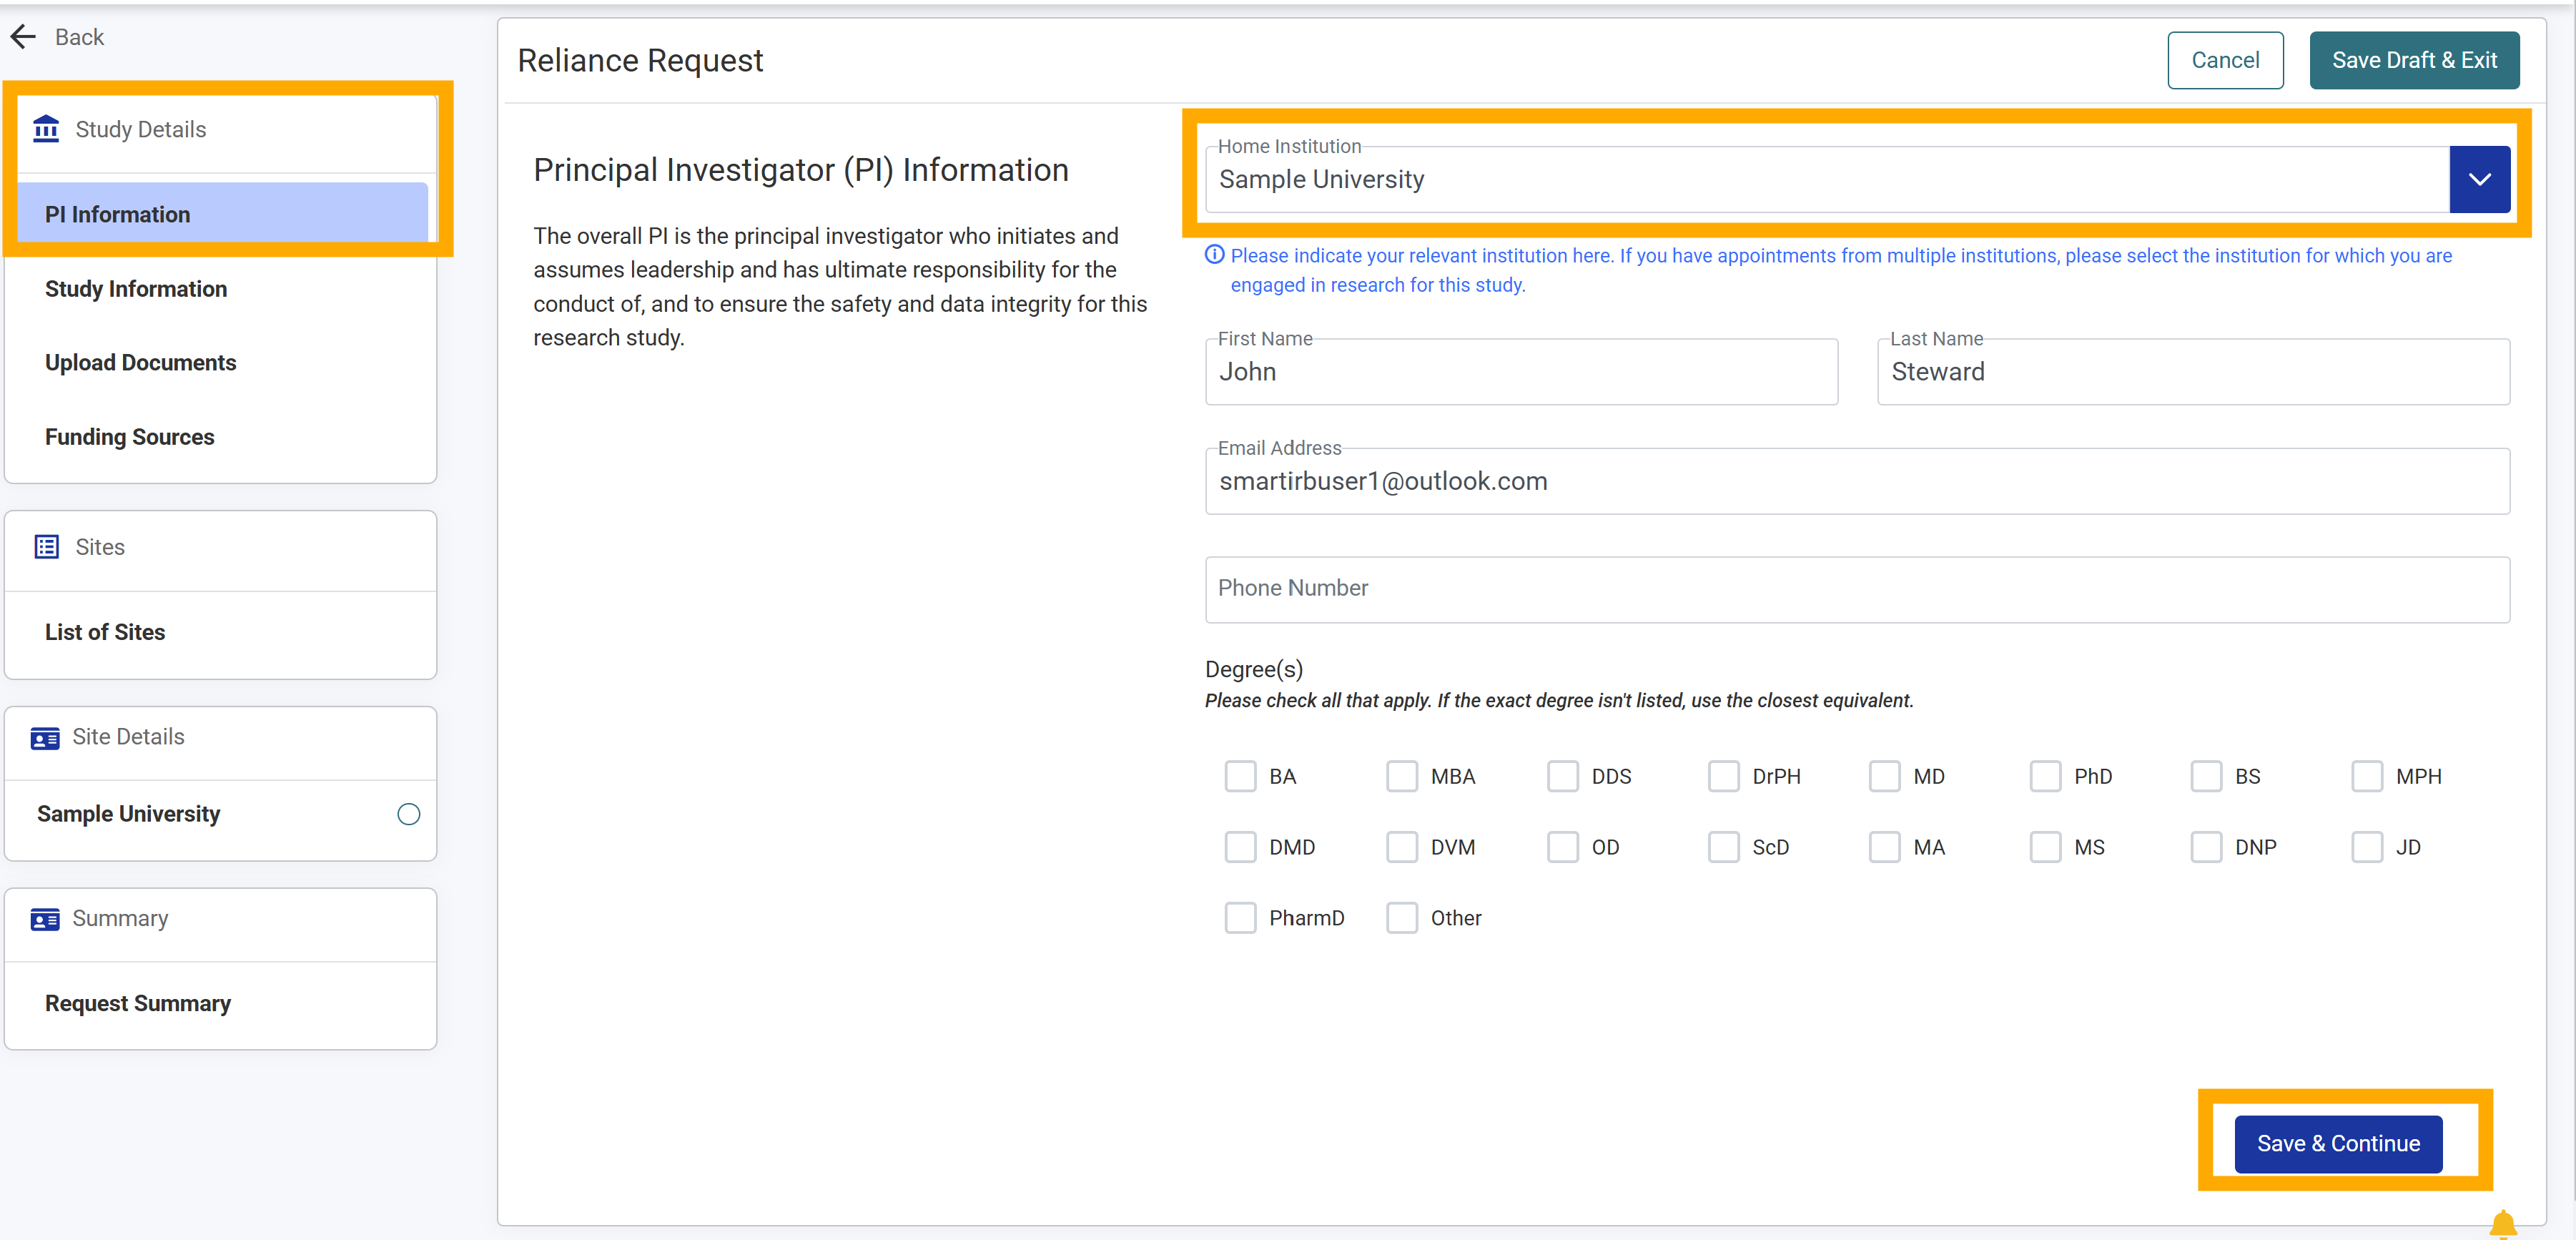
4.Enter the first few letters of your home institution, then click on its name in the dropdown menu
5.Type the Principal Investigator’s first name, last name, and email address into their respective text boxes (required).
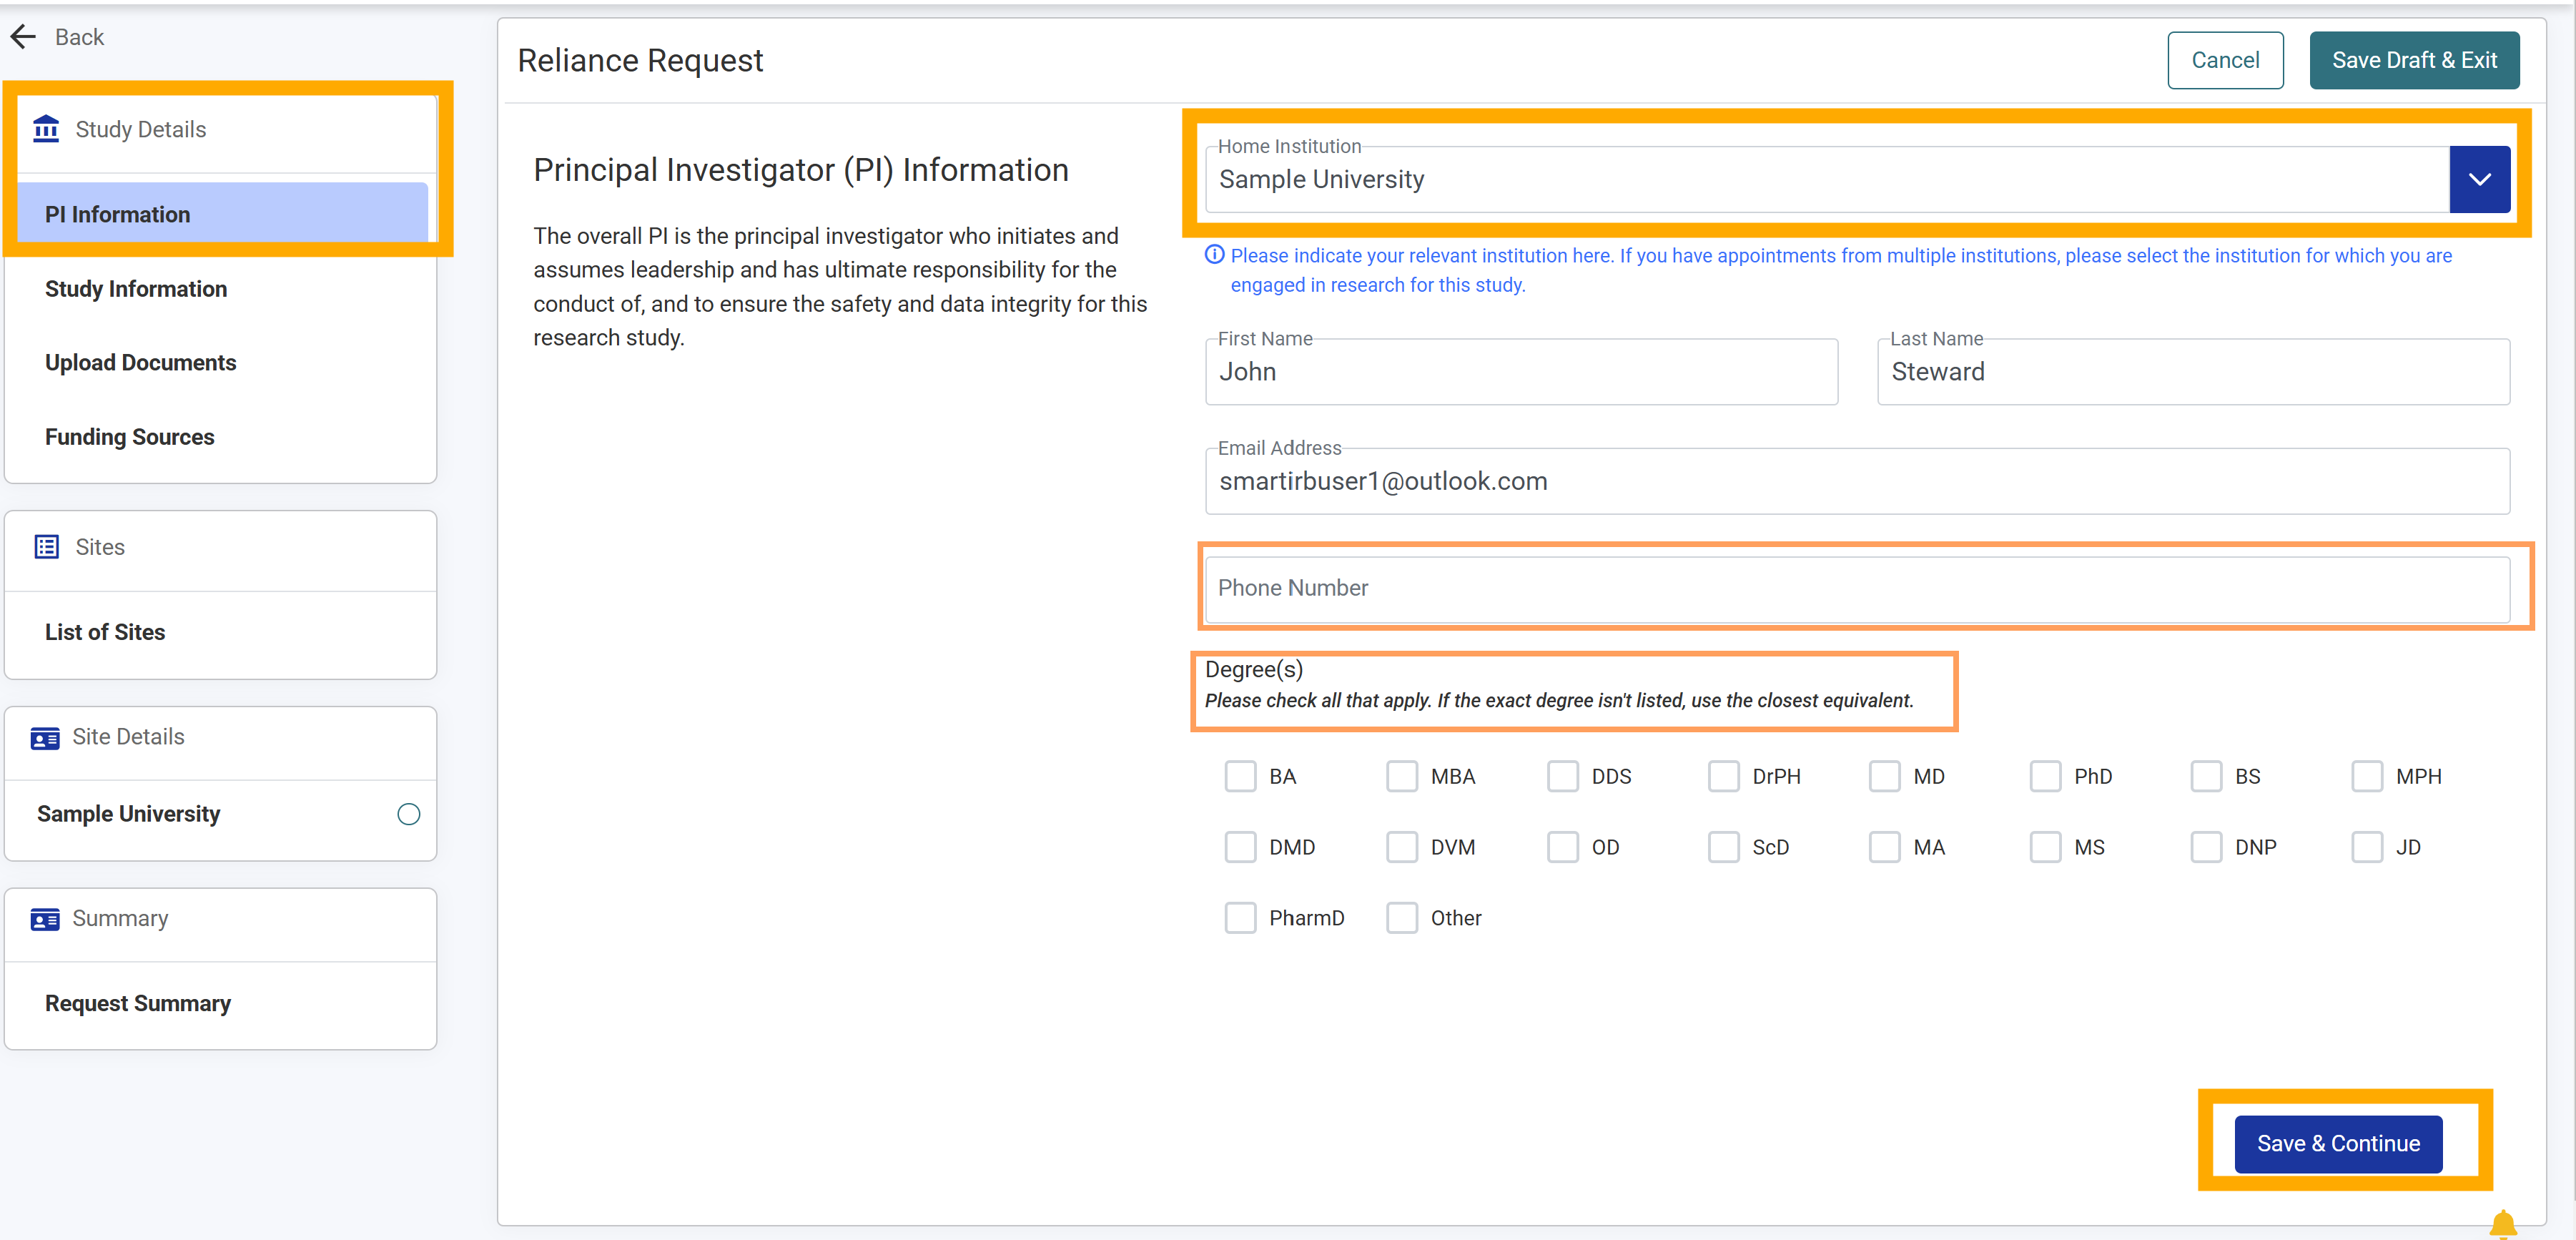
6. Add phone number and use the checkboxes to select the degree(s) that apply to the study’s Principal Investigator (both are optional).
7. Click “Save & Continue” if you are ready to proceed; otherwise, select “Save Draft & Exit” in the top right-hand corner to save your work to be completed at a later time.
8.Enter a title (maximum length of 255 characters) and brief description of the study (maximum length of 1000 characters) in their respective textboxes (required).
9. The “Requested Reviewing IRB” will be the Home Institution selected in the PI Information module.
Note: If an institution has not signed version 3.0 of the SMART IRB agreement and/or marked “no” to maintaining an IRB in the institution details, the institution will not show up in the dropdown for reviewing IRB.
10.If applicable, type the protocol number in the Protocol Number text box.
11. If applicable, type the National Clinical Trial (NCT) number in the NCT Number text box.
12. Use the checkboxes to select the reason(s) for requesting the Reviewing IRB (required).
13.Click “Save & Continue”.
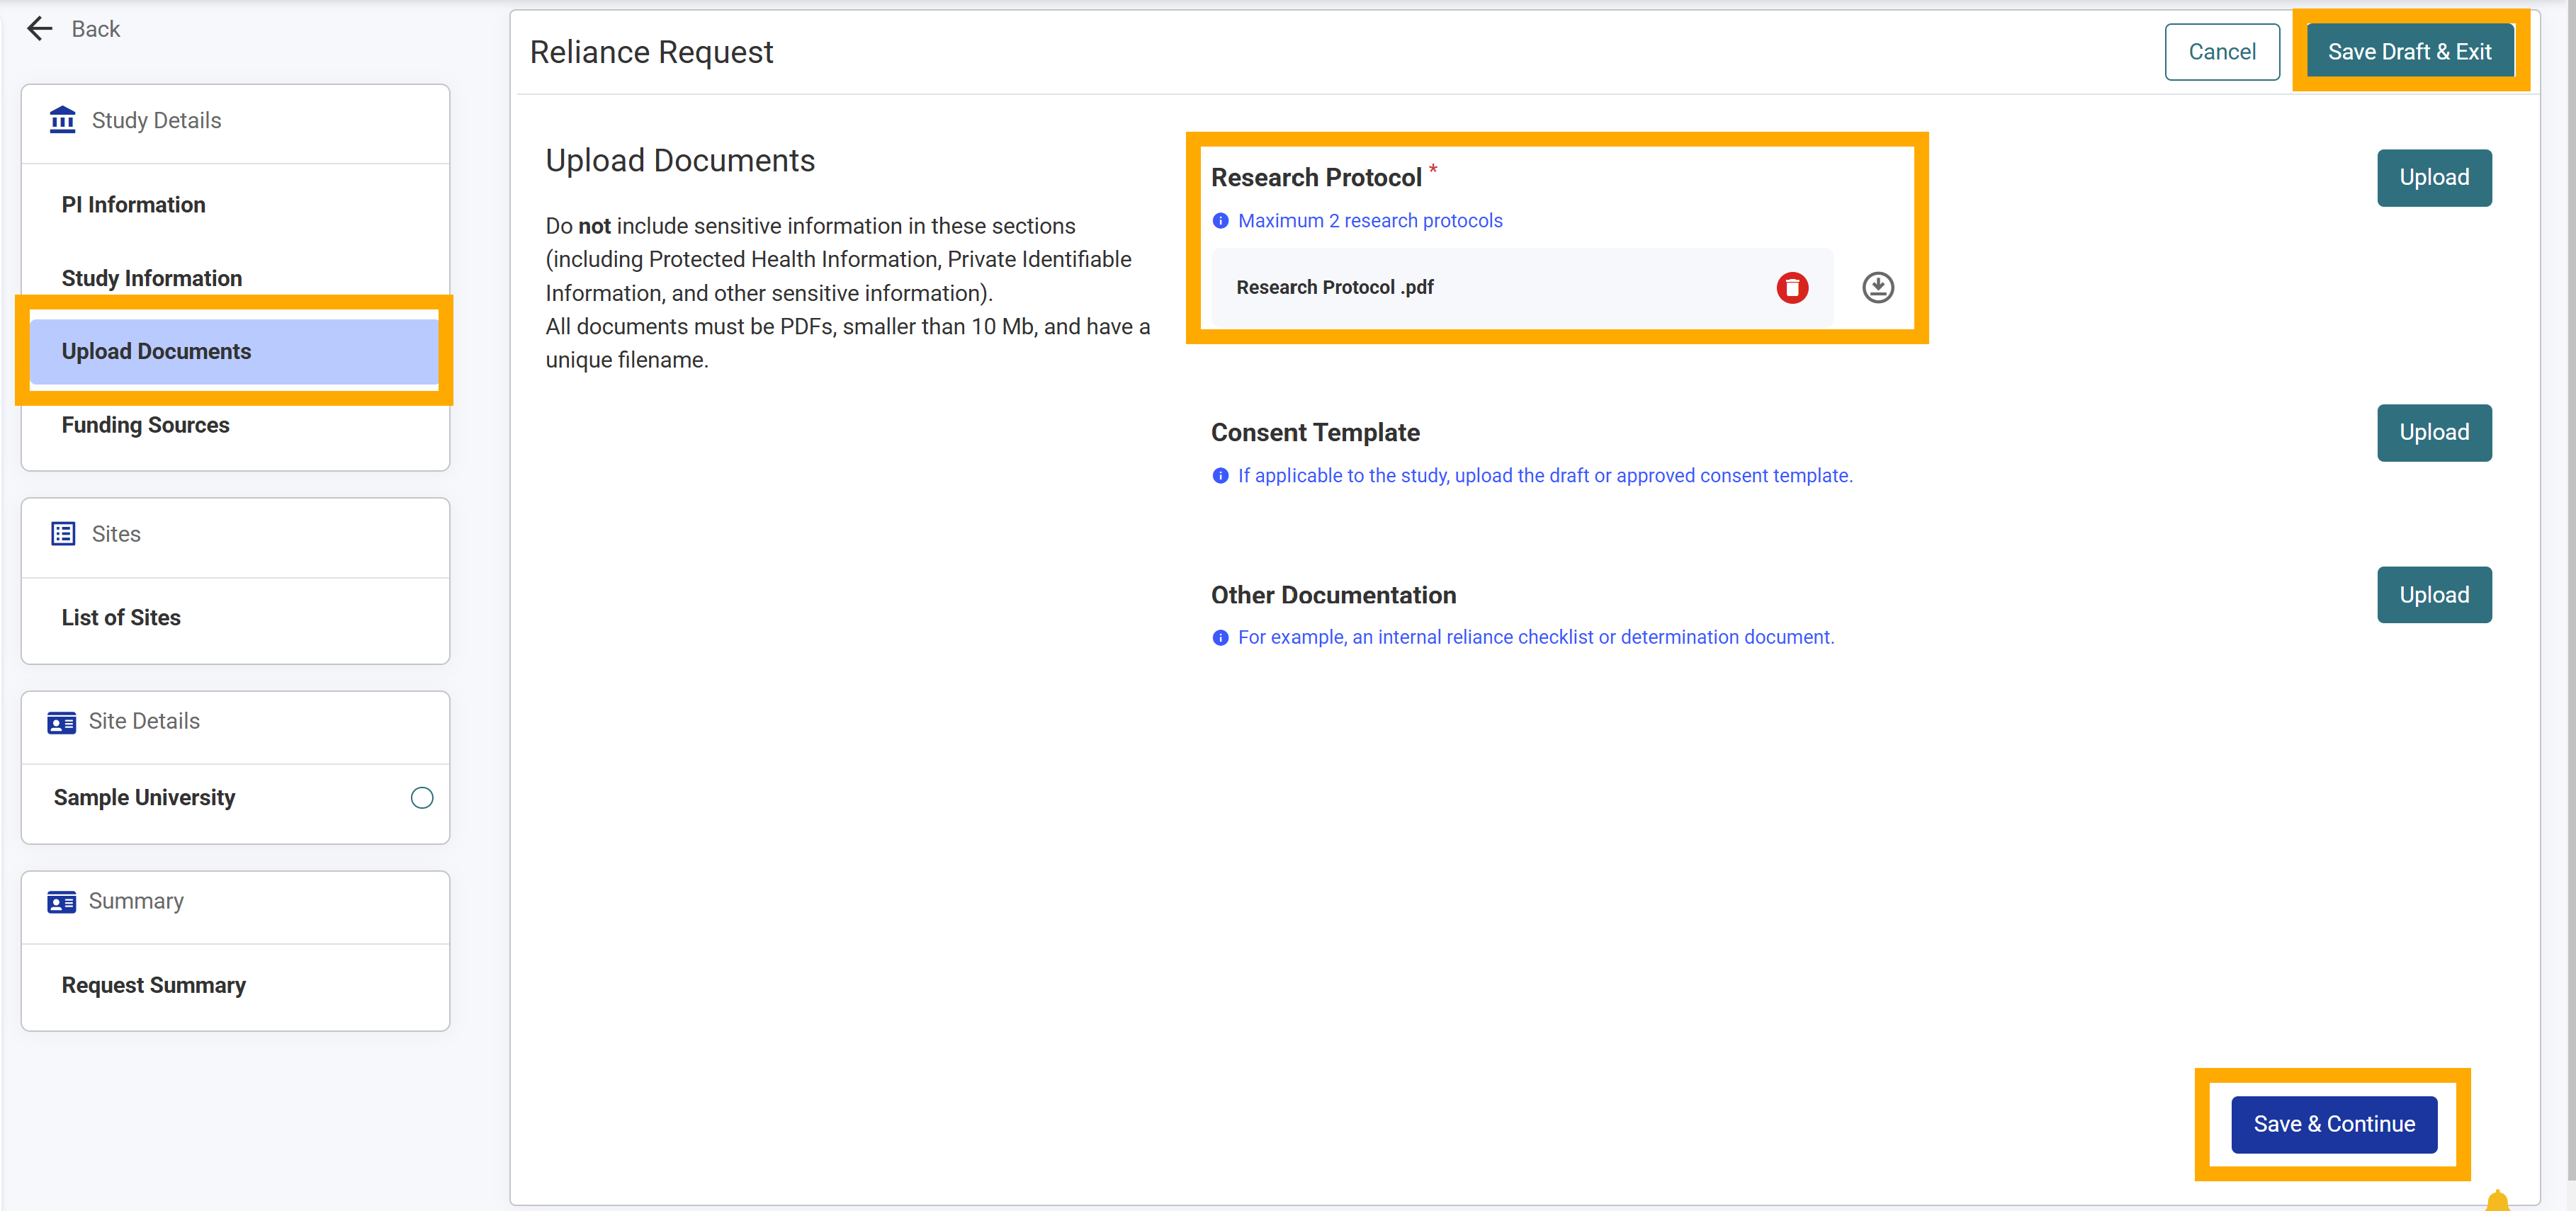
15.At least one research protocol is required for a reliance request. The document must be in a pdf format and smaller than 10Mb.
16.If you have other documentation to add to the request, use the “Upload” button to open your browser’s explorer to select your desired PDF(s).
17.If you are not finished, click “Save Draft & Exit” to complete your work later without losing your progress.
18. Once you are finished, click “Save & Continue”.
19. If you are not adding funding sources, click “Save & Continue” to move to the next module. Otherwise, proceed to step 2.
20. Click “Add Funding Source”.
21.Type the funding source in the “Funded By” textbox (required).
22. Open the “Primary Awardee Institution” dropdown menu.
23. Select the name of the Primary Awardee Institution (required).
24.Use the radio buttons to select a funding type (required).
25. If you selected “Other” as the funding type, fill out the “Other Funding Type” field (required).
26.After completing all the required fields click the “Add Funding Source” button to add this funding source to your request.
27. If you have additional funding sources to add, repeat the above steps for each.
You can add as many funding sources as needed to the request. You can edit any funding sources as needed once they have been added by clicking the pencil icon at right. Click “Save and Continue”.
28. To remove a funding source, click the “Delete” icon in the list.
29. To permanently delete the funding source, click “Delete” in the confirmation pop-up. To retain the funding source, click “Cancel”.
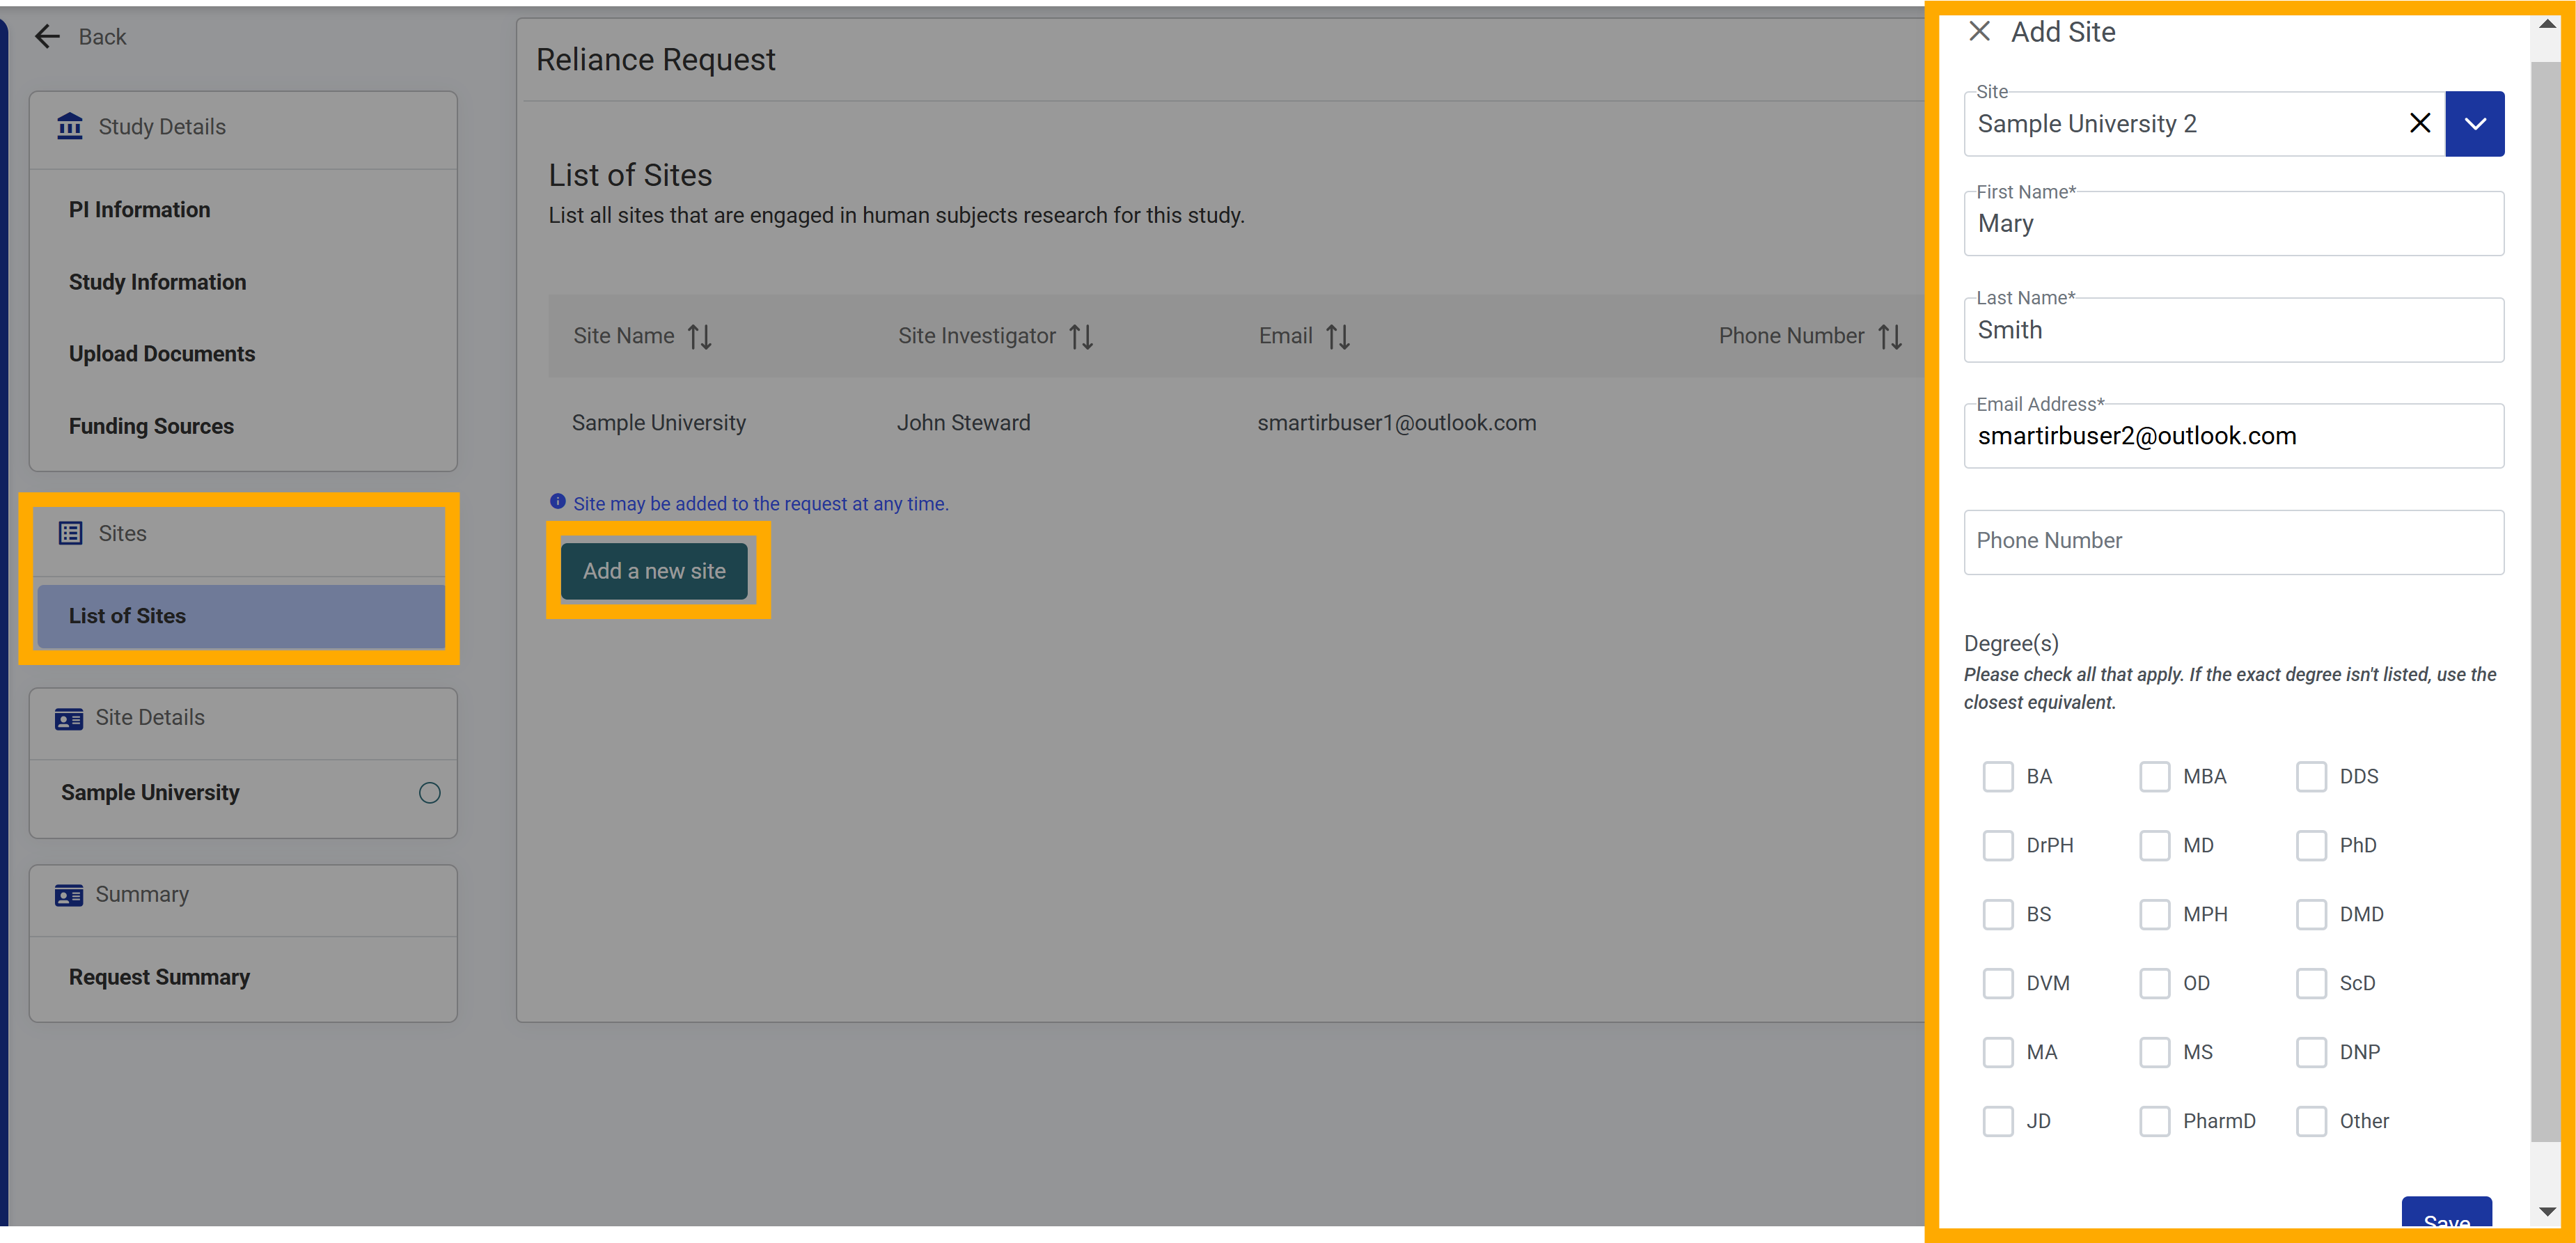
30.You can add a site to a reliance request at any time. From the request details screen, click “List of Sites”.
31. You will see the Home Institution and the Reviewing IRB Institution (if different) in the List of Sites; these sites cannot be deleted.
To add sites, click “Add a new site”. Otherwise, proceed to review and submit.
32.Start typing the letters of the new site or scroll to the name in the “Add Site” textbox (required).
Please note that only sites that have joined SMART IRB Reliance Agreement Version 3.0 will be listed as available sites to add.
33. Type the site investigator’s first name, last name, email address (required) and phone number (optional) in their respective fields.
34. Click “Save”
34.If you have additional sites to add to the request, repeat the above steps for each. Click “Save & Continue”
35.The Home Institution will be the first site listed in the “Site Details” module in the left navigation of the reliance request.
Click on the institution you wish to add research personnel to. You need only add the research personnel who should be notified and have access to the reliance request.
36. To add personnel to the site, click the “Add Person” button.
List any members of the study team that would like to receive notifications regarding this request. Please note: not all study team members need to be listed.
37. In the “Research Participants and Activities” section, you will use the check boxes to indicate the applicable participants and research activities at the selected site (required).
Selecting some options will cause additional fields to appear that require completion.
38. Click “Save & Continue”
39.If you have additional sites listed under “Site Details”, click on the next site you want to update. Repeat the above steps for each.
40.To review the request details prior to submission, click “Request Summary” in the navigation bar of the request’s detail page.
41. Review the details on the request summary page. To make edits, click the “Edit” icon on the right side of the screen within that section.
42. When you have reviewed all sections and all edits are complete, click “Submit Request”.
43.Click Submit in the pop-up window to proceed with submitting your reliance request.
44. An email notification will be sent informing the recipient that the reliance request has been submitted.